If you own an ASUS ROG tablet, you know how vital it is for gaming and high-performance tasks. However, these activities can sometimes lead to wear and tear of its components, including the graphics port. A faulty graphics port can disrupt your tablet's performance, resulting in poor display quality and even complete screen failure. In this guide, we'll walk you through the steps necessary to replace the graphics port on your ASUS ROG tablet. We'll cover preparation, the replacement process, testing, and troubleshooting to ensure your tablet returns to optimal performance.
The graphics port is a critical component of your ASUS ROG tablet. It connects your device to external displays, transmitting video and audio signals. This is especially important for gamers and professionals who rely on high-resolution visuals. A malfunctioning graphics port can significantly impact your user experience, causing display issues and reducing the overall functionality of your tablet. Replacing a faulty graphics port is essential to maintain the performance and enjoyment of your ASUS ROG tablet.
Identifying a faulty graphics port early can save you from more extensive damage. Common signs include:
If you notice any of these symptoms, it's likely time to replace your graphics port.
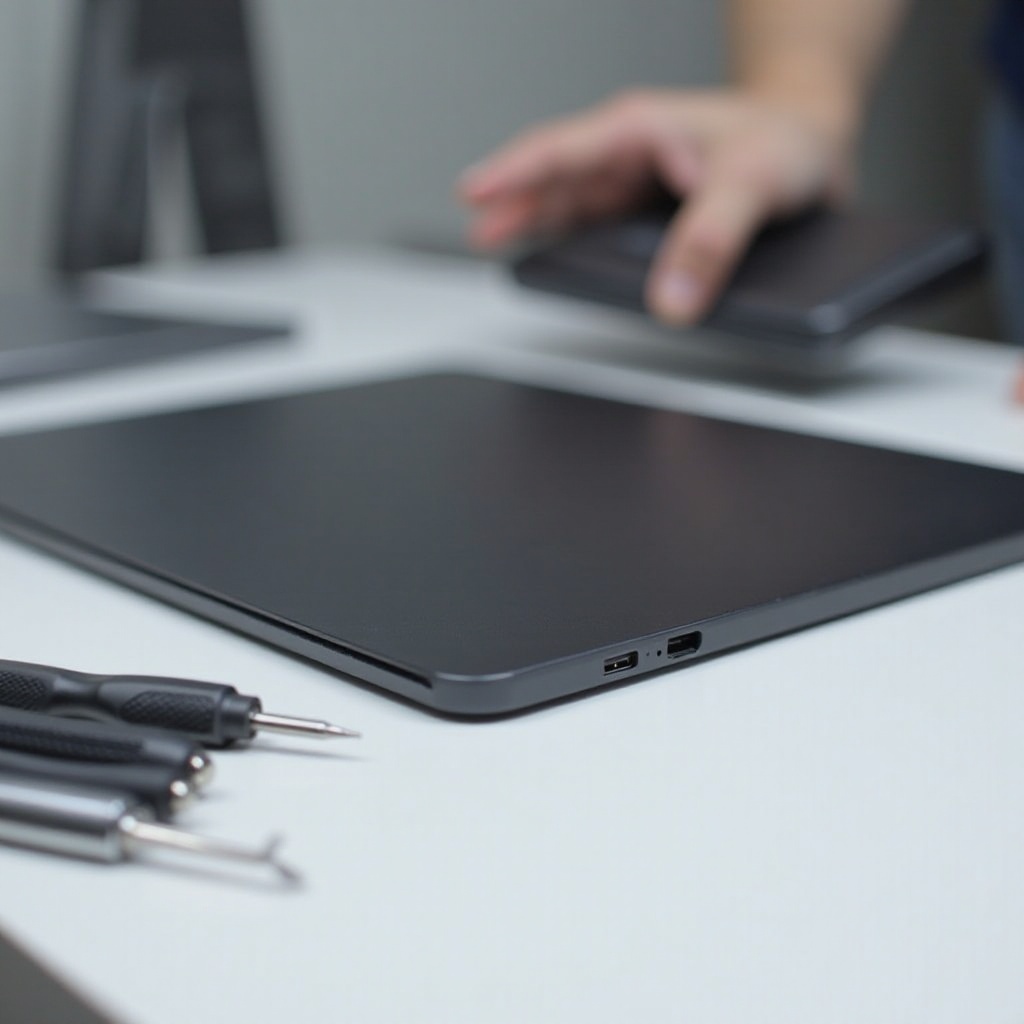
Before diving into the replacement process, make sure you have all the necessary tools and preparations:
Tools and Materials Needed:
Preparation Steps:
With the right tools and preparations, you're ready to begin your graphics port replacement.
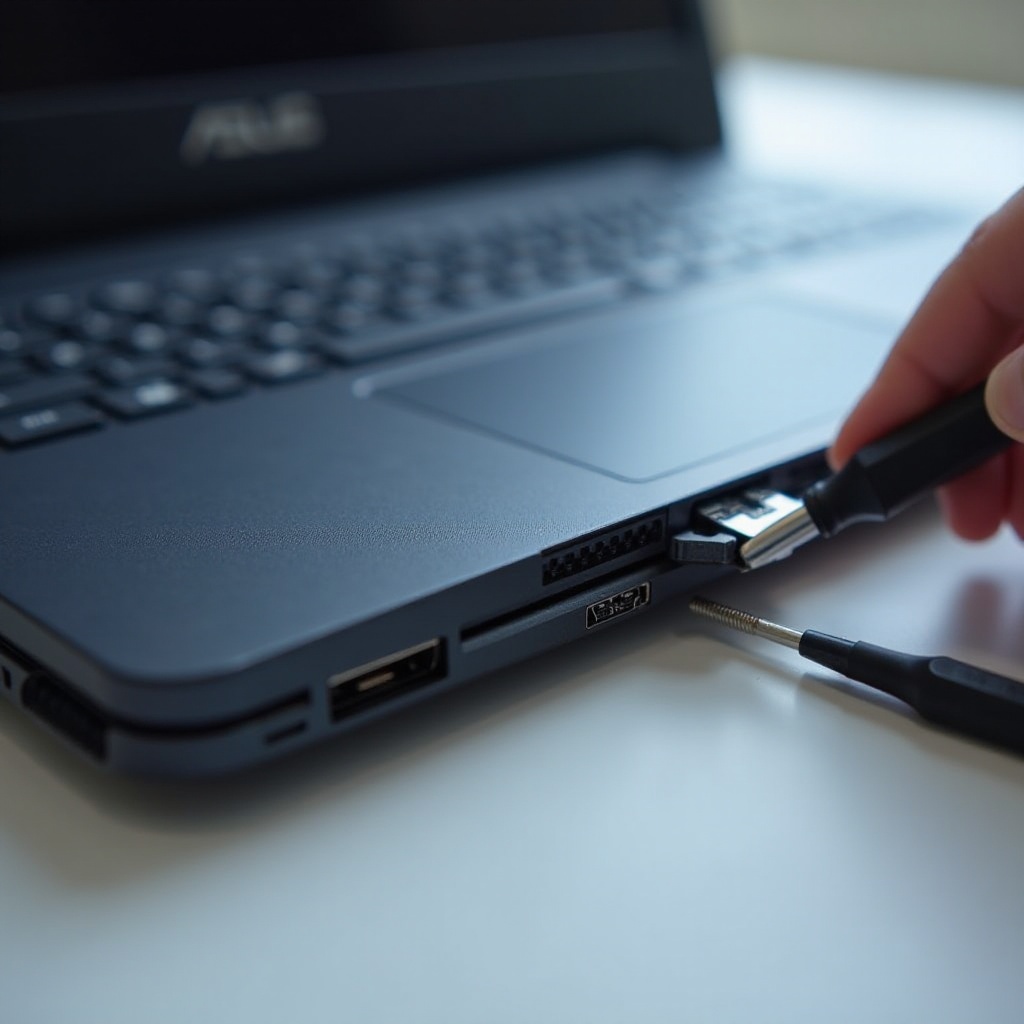
Follow these steps to replace the graphics port on your ASUS ROG tablet:
Unscrew the screws holding the internal components in place.
Locate the Graphics Port:
Carefully disconnect any cables connected to the graphics port.
Remove the Faulty Graphics Port:
Be cautious not to damage surrounding components.
Install the New Graphics Port:
Reconnect any cables you previously disconnected.
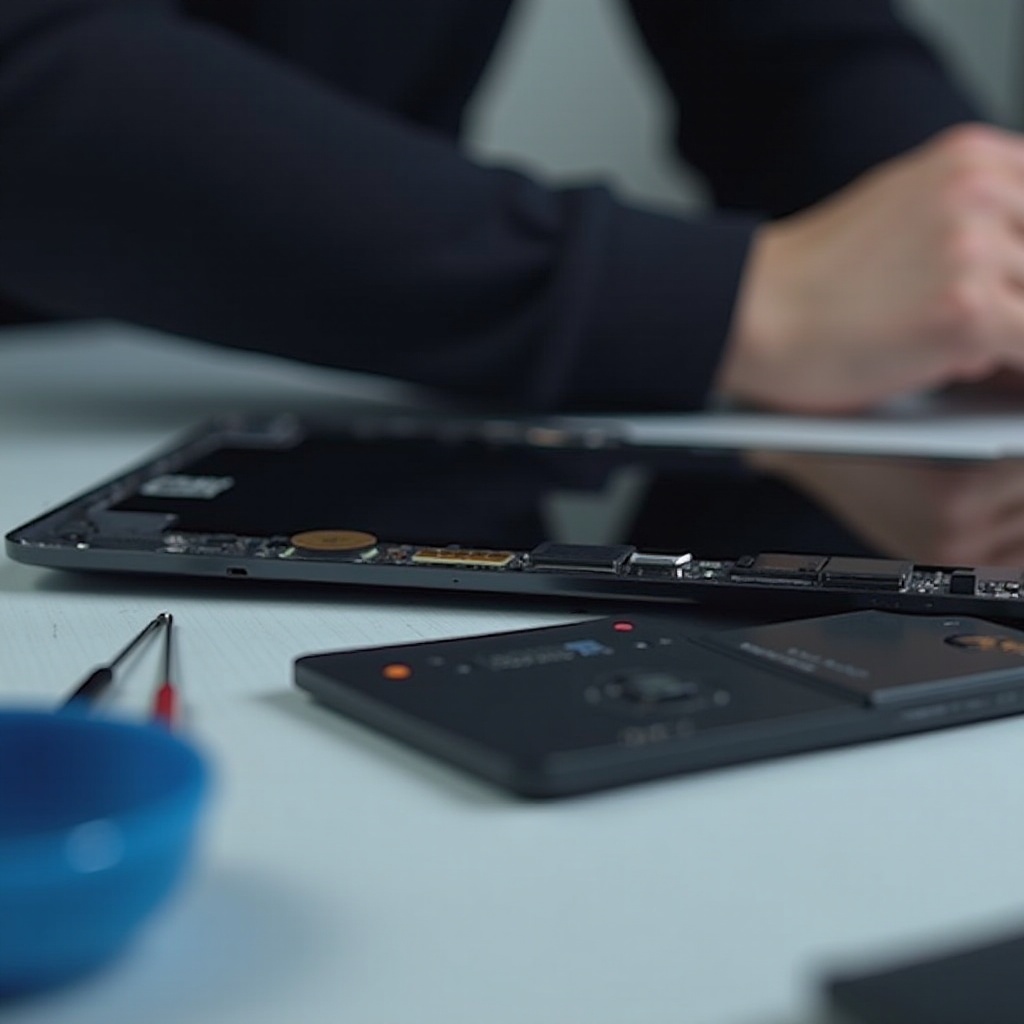
Reassemble the Tablet:
After replacing the graphics port, it's crucial to verify its functionality:
Turn on the tablet and observe the display.
Test Display:
Look for clear, consistent visuals without flickering or artifacts.
Run Diagnostics:
A successful verification confirms your new graphics port is working as intended.
Sometimes, issues can arise even after replacement. Common problems and solutions include:
Run through these checks to troubleshoot and resolve issues effectively.
To ensure your new graphics port lasts longer, follow these maintenance tips:
Replacing the graphics port on your ASUS ROG tablet, while requiring some technical know-how, is manageable with the right tools and guidance. By following this comprehensive guide, you can restore your tablet’s performance and extend its lifespan. Regular maintenance will ensure your new graphics port continues to function optimally.
The replacement process typically takes about 1-2 hours, depending on your familiarity with the procedure.
It depends on the compatibility of the upgraded graphics port with your ASUS ROG tablet model. Check with the manufacturer for supported upgrades.
If replacing the graphics port doesn’t solve the problem, it could be a sign of deeper hardware issues. Consult a professional technician for further diagnosis.